
DIY Wall Hangings to Brighten Any Room
Wall hangings are a creative way to add color, texture, and personality to any living space. Handmade pieces allow you to express your style while bringing warmth and charm to your home. With simple materials and a few basic techniques, even beginners can create beautiful wall hangings that transform ordinary walls into works of art.
Choosing Your Materials
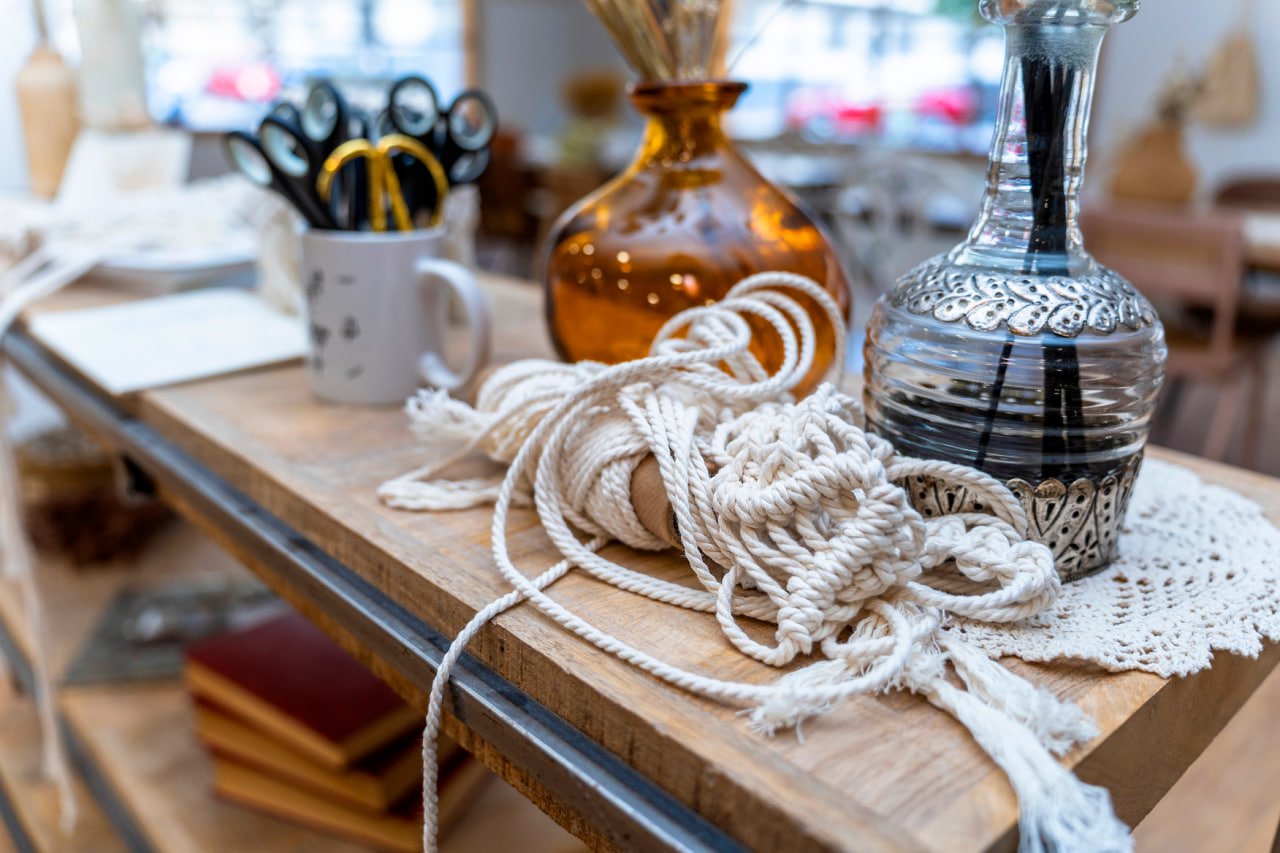
The first step in creating a wall hanging is selecting the right materials. Yarn and threads in a variety of colors are essential, but you can also incorporate ribbons, fabric strips, or natural fibers like jute and cotton. A wooden dowel or branch is commonly used as the base for hanging. Choosing materials that complement your room’s existing decor helps ensure that your piece enhances the space rather than clashes with it.
Selecting a Design
Wall hangings can range from simple geometric shapes to complex patterns with multiple textures. Beginners often start with basic weaves or knotting techniques, creating stripes, chevrons, or fringe designs. As your skills develop, you can experiment with asymmetrical layouts, loops, braids, and layered textures. Sketching your design before you begin helps visualize the final piece and plan color changes.
Setting Up Your Loom or Base
For woven wall hangings, you can use a small frame loom or a simple warp on a dowel. Ensure the warp threads are evenly spaced and taut. For macramé or knotted designs, tie your cords securely to the dowel and arrange them in the order required by your pattern. A stable setup is crucial for maintaining tension and achieving clean, uniform results.
Basic Techniques for Beginners
Several simple techniques allow you to create visually appealing wall hangings:
- Plain Weave – Alternating over and under the warp threads, this technique creates a solid base for other decorative elements.
- Rya Knots – Adding fringe to your wall hanging gives texture and movement, making the piece feel dynamic.
- Looped Stitches – Loops create volume and softness, ideal for highlighting a specific section of your design.
Combining these techniques helps create depth and variation, making your wall hanging more visually interesting.
Adding Color and Texture
Using a mix of colors and textures adds personality and style to your wall hanging. Gradients, contrasting colors, or blocks of bold hues can all enhance visual appeal. Mixing thick and thin yarns or combining smooth threads with fluffy fibers creates a tactile experience that makes your piece stand out. Incorporating metallic threads or beads can also add subtle highlights and sparkle.
Finishing Touches
After completing your wall hanging, trim excess threads and secure all ends. Tie off knots tightly or weave them into the fabric to prevent unraveling. Attach the finished piece to a dowel or branch, leaving enough space for a hanging cord or ribbon. Consider the placement of your wall hanging carefully; positioning it where it can catch natural or soft lighting will emphasize texture and color.
Display Ideas
Wall hangings work well in many areas of the home. Above a sofa or bed, a larger piece can serve as a focal point. Smaller hangings can be grouped in clusters to create a gallery wall. They are also perfect for adding charm to entryways, offices, or nurseries. Changing your wall hangings seasonally or for special occasions can refresh the room without major renovations.